XAMPP: Learn PHP & MySQL Without Online Hosting!!
One of the questions I get most frequently is what I use to make my text-based games. My answer is always the same, PHP and MySQL. Let’s say you wanted to learn these languages, so you find some tutorials and start reading. Only now you realize you need somewhere to practice what you’ve learned. Hosting can be expensive, especially for hosts that come with PHP/MySQL for someone who only wants to play around with the languages and isn’t looking to develop and entire website.
XAMPP is your solution. XAMPP is developed by Apache Friends and it will let you write and test PHP code as well as create and manging your own database. The best thing about it, its FREE!!
Go to this website: http://www.apachefriends.org/en/xampp.html and download XAMPP for your operating system. Once you’ve downloaded it run the installer (Windows machines) or follow the directions to get it setup (Linux machines).
Once you have it installed you’ll need to turn it on before you can use it. Navigate to the folder where you installed it. You’ll see two programs, one called XAMPP_START and the other called XAMPP_STOP. Every time you want to run XAMPP you need to click on XAMPP_START. Make sure you turn it off before you turn off the computer, otherwise you may get a startup error the next time you try to use it. It’s not going to keep XAMPP from working but its annoying (and has a really loud beeping noise).
Now that XAMPP is on you can make sure it installed correctly. Open a browser window (Internet Explorer, FireFox, Opera, Netscape, whatever you like most). In the address bar type in: http://localhost
One thing to understand here. You don’t have to be online for XAMPP to work. In fact that’s what makes it so powerful. Now you can test all your files and programs right from your computer at home even if you don’t have Internet access.
If you’ve installed XAMPP correctly you’ll see an orange and white screen that shows some demo programs. Take a look through them, there’s a few neat things. You’ll also see information about what’s currently running. One of the great things about XAMPP is that you can switch from php version 4 to php version 5. This is extremely useful for people who want to switch over scripts from one version to another. That way you can iron out any problems you have and fix them before you switch.
The next question is, where do you put your files to test things? Easy. Navigate to where you installed XAMPP. You’ll see a folder called htdocs. All of your php should go in that folder. For convience, its easier to make a folder called testing inside of htdocs because you’ll end up with a lot of stuff in there and all the demo programs are in there too.
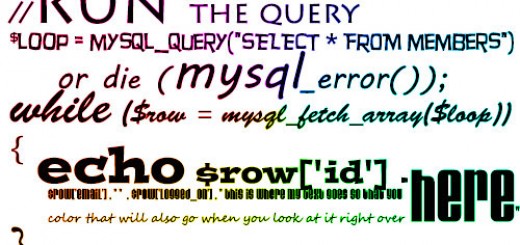
So inside {XAMPP_install_path}/htdocs/testing you can now write and test your code! Let’s say you make a file called helloword.php inside of testing. That means it’s {XAMPP_install_path}/htdocs/testing/helloworld.php. To view this file open a browser window and type in: http://localhost/testing/helloword.php
Presto! Your php works!
But there’s one other thing that’s essential. MySQL. XAMPP comes with phpMyAdmin, which you may or may not be familiar with. It helps you setup all of your databases with a graphical interface. To get to it start XAMPP then go to http://localhost/phpmyadmin
So there you have it. Now you know how to get XAMPP, install it, start/stop it, add files so you can see them, and access phpMyAdmin to help you setup your databases.
And you didn’t need to pay for hosting 🙂